
 Get self-health education, nutrition resources, and a FREE copy of A Terrible Ten: Health Foods That Ain't ebook.
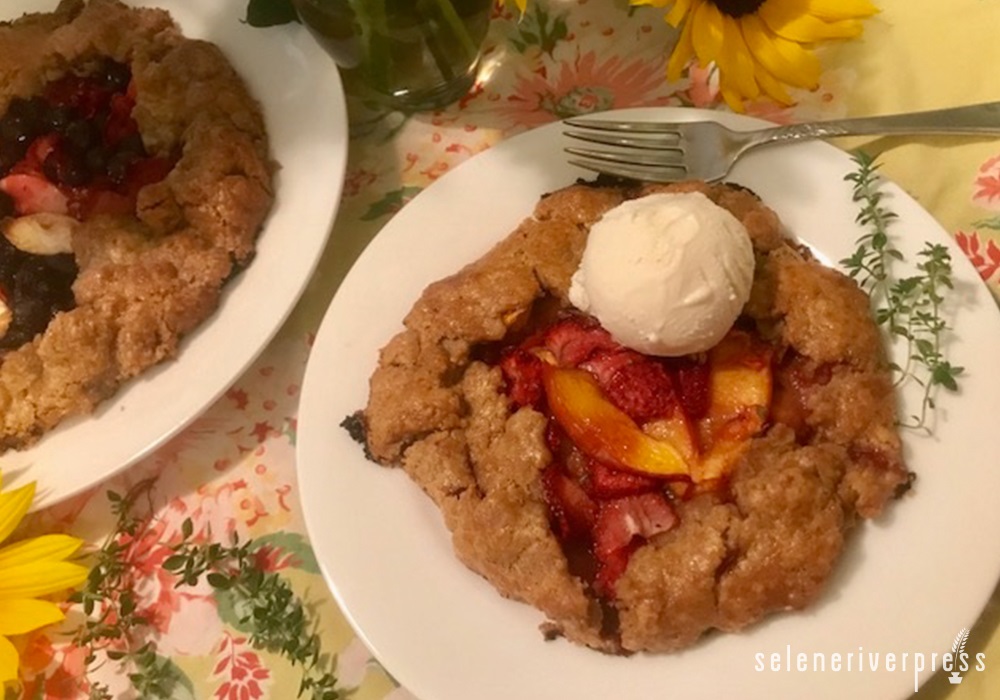
I’ve always been a pie person, ever since I was a kid. In fact, when I was growing up, much of my family preferred pie over cake, and it was not uncommon to have “birthday pie” in honor of someone’s special day. I always ate mine with milk poured over it, an unusual custom I still practice to this day—though I’ll take a scoop of ice cream or dollop of whipped cream just the same. :)
I must admit, however, that as much as I love cooking, and as many years that I worked professionally as a pastry chef, I never really cared much for making pie. It always seemed like too much work. Looking back, I think much of that aversion had to do with my apprehension over making a decent pie dough.
When I was young, I didn’t have the luxury of techy gadgets, so I always made my pastry by hand, and I could never quite seem to get the texture of pie dough right, which discouraged me because I’m a perfectionist. Also, my mentality at that point in my life was that it was much easier to do something I was already good at than to try to learn a new skill.
Many years and much personal growth later, I finally figured out the tricks to making excellent pie dough by hand. Yay, me! But also in that time I discovered the wonders of using my food processor to make pastry, and I am now a devout advocate of that magic.
You see, one of the key reasons for failed pie dough is introducing too much heat into it, which melts the fat within and subsequently creates a tough dough. This was always a problem for me when I used my hands, because my body temperature would warm things up too much. Even using a pastry blender or fork seemed to take too long, the fats melting before being properly incorporated.
The food processor practically eliminates these issues. The heat generated by the blade is significantly less than when using your hands, and the short pulses used to blend the dough reduce the odds of the precious knobs of fat within melting (and also of overmixing the dough).
Other small tips I’ve gleaned over the years, such as using a combination of butter and lard, freezing the fats first, and using ice-cold water, all allow me to create incredibly tender pastry, even when using 100-percent whole grain flours!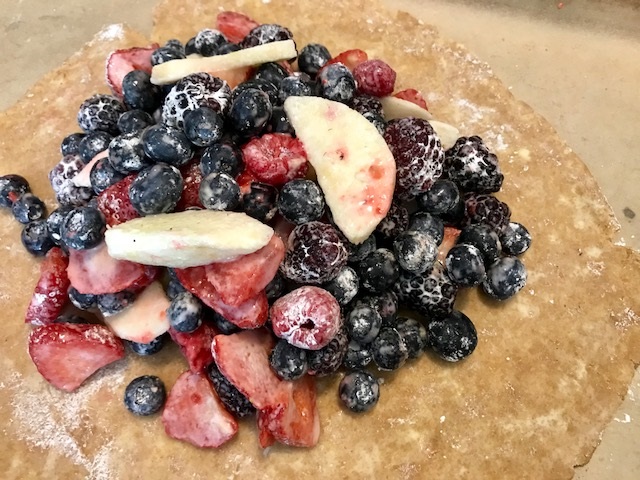
All that said, even when you’ve achieved the perfect pie dough, either by hand or with your handy-dandy food processor, sometimes preparing a whole pie is just too much. Too much work, too much food, too much time in the oven…you get it.
And that’s where the galette comes in. The term hails from French cuisine and refers to various flat, round cakes, breads, and pastries, both sweet and savory. Here I use it to refer to one of its most famous incarnations, a rustic, free-form “pie” that contains all the taste of a traditional fruit pie but with far less hassle and cooking time, no need for an extended cooling time to set the filling, and, bonus, the ability to be prepared as a single serving! Tip: It is also an ideal way to use up smaller bits of leftover pie dough after making a true deep-dish pie.
There are no set rules to making a galette, and the relaxed style of each pie means you don’t need to have an artist’s eye to make a great one. All you need is some imagination and a few minutes of time. A galette can be filled with any combination of ingredients and can be tailored to each diner’s personal tastes in terms of sweetness.
Here I’ve made two galettes using the best of the seasonal fruits from my farmer’s market, Strawberry-Nectarine Galette and Apple-Berry Galette. But feel free to use whatever fruits you like, either alone or in a combination, fresh or frozen (though you’ll need to extend the baking time accordingly for the latter). You’ll need about 2 or 3 heaping cups of chopped, diced, sliced, or whole small fruits to fill each galette.
Alternately, you can use the dough to make a single, larger galette. In this case you’ll need about 5 to 6 cups of fruit. Nuts and seasonings such as cinnamon, nutmeg, citrus zest, herbs, and almond extract all make great additions. You can even fill a galette with vegetables, herbs, cheeses, and meats for a delicious savory version.
Serve Strawberry-Nectarine Galette and Apple-Berry Galette warm, room temperature, or chilled, either as is or accompanied with ice cream or whipped cream. Or, if you’re feeling adventurous, go ahead and douse ’em with milk. ;)
Strawberry-Nectarine Galette and Apple-Berry Galette
Makes: Two 8-inch galettes
Prep time: 20 minutes, plus time for freezing fats and time for dough to chill
Cook time: 20–60 minutes, depending on size of galette and type of fruit used
Ingredients
For the dough:
4 tablespoons butter
3 tablespoons lard
1¼ cups einkorn, whole wheat pastry, or other flour of choice
⅛ teaspoon salt
2–3 tablespoons ice water
For filling of Strawberry-Nectarine Galette: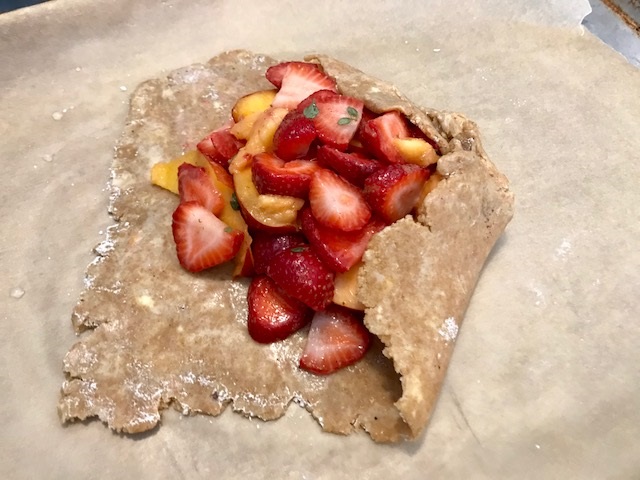
1½ cups sliced strawberries
1 nectarine, pitted and sliced
½ teaspoon vanilla extract
Sweetener of choice, to taste
About 2 teaspoons per cup of fruit of flour, arrowroot, tapioca starch, or other thickening starch
For filling of Apple-Berry Galette:
One-half apple, peeled, cored, and sliced
2 cups mixed berries
Sweetener of choice, to taste
About 2 teaspoons per cup of fruit of flour, arrowroot, tapioca starch, or other thickening starch
1 egg, beaten, for egg wash (optional)
Instructions
Prepare dough:
- Line a plate or baking sheet with parchment paper. Chop butter into ½-inch cubes and place on paper. Scoop lard into ½-tablespoon pieces and place on paper. Place baking sheet in freezer for at least 15 minutes until fats are frozen solid. Fill a glass with water and ice and set aside in the fridge.
- When fat has frozen, place flour and salt in the bowl of a food processor. Pulse to combine ingredients. (Or, if preparing dough by hand, mix flour and salt in a large bowl.) Add frozen fats to processor and, working as quickly as possible, pulse the mixture until the fat particles resemble large peas. (If making dough by hand, use a fork, pastry blender, or your fingertips to incorporate fats into flour mixture.)
- Add ice water to dough, a tablespoon at a time and mixing as quickly as possible, until the pastry just comes together. Dump pastry onto a lightly floured countertop and push together into a ball. Divide ball of dough into two even pieces, and place each on a large piece of plastic wrap. (Alternately, if you are making a single large galette, keep the dough in one piece.)
- For each piece of dough, fold the edges of the wrap over the dough and roll the dough into a flat disk about ½ to ¾ inch high. Refrigerate each disk for 30 to 60 minutes to chill and rest.
Prepare fillings:
- In a large bowl, combine filling ingredients for Strawberry-Nectarine Galette (strawberries through thickening starch). Taste and adjust sweetener to your liking. Set aside. In another large bowl, combine filling ingredients for Apple-Berry Galette (apple through thickening starch). Taste and adjust sweetener. Set aside.
Prepare galettes:
- Place one oven rack in the upper third of your oven and one in the lower third. (If making one large galette, place a single rack in the center of the oven.) Preheat the oven to 350˚F. Line two baking sheets with parchment paper and set aside.
- Lightly dust your countertop with flour. Roll out one of the pieces of dough into a disk about 10 inches in diameter. Transfer disk to one of the prepared baking sheets and place sheet in refrigerator. Repeat with second disk of dough. (Or, if making one large galette, roll dough into a disk about 14 inches in diameter.)
- Remove disk made from the first piece of dough from the fridge. Pile strawberry-nectarine filling into center of the dough, leaving a border of 1–2 inches around the edges. Fold up edges of dough to partially encase the filling. Repeat with second disk of dough, using the apple-berry filling. If desired, brush exposed dough with beaten egg wash. (Egg wash gives the finished crust a shiny, deep-brown appearance.)
- Place galettes in oven and bake for 15 minutes. Then, to assure even cooking, swap the galettes between the oven racks and turn each sheet 180 degrees. Continue baking until crust is golden-brown and filling is bubbling, about 10–25 minutes depending on the fruit you use. (A single, large galette will probably take longer.) Remove galettes from oven and let cool for at least 15 minutes before serving.

Image from Briana Goodall.